I am loving burlap this season! I love the texture, earthy colors, and its overall look. Below are a few projects I whipped up with burlap.
Burlap as a photo background:
For this project I used a frame that I spray painted white (black would have worked too, but this goes more with my living room scheme). The glass in this frame was broken during our move (proud to say that was our only casualty), but I still wanted to use the frame for something. Because the glass was broken, I thought a fun texture might work. My original idea was to simply frame the burlap. This looked a bit plain though. Then I thought I might stitch something (a heart or initials) in to the burlap, but I was afraid this might look a little cheap (mainly since I don't know how to stitch anything). Then I got the great idea to pin a picture to it! I had a black and white print of Jeremiah that I took several years ago in an empty train station in Denver. I wanted to do something cool with the picture, but I wasn't sure what. Pinning it to the framed burlap suits it perfectly!! I love the look!! I also love the frame's placement on the wall because I can see it when I walk from the kitchen to the living room. This project was SUPER easy, and honestly took less than 10 minutes--gotta love that in a DIY project!
 |
| Cutting the burlap to suit the frame size. |
 |
| Basil loves burlap too! |
 |
When adding the back to hold it all in place, I simply
cut the burlap to allow the back to attach as it normally would. |
 |
| taaa daaaa. Super easy proj. |
 |
| Love this view. |
Burlap as a vase cover:
This idea is also awesome and super simple! I got the idea from another blog, but can't find the link now. Boo. Anyway, to make the burlap vase I simply cut the burlap to the proper size. I got this vase last winter a the Dollar Store for, like, a dolla! I then trimmed 3 of the 4 sides using hot glue to give it a finished look. Then I glued the unfinished side to the vase, wrapped the rest around, and attached the end with more hot glue.
 |
| Here's what ya need. |
 |
| Be careful not to burn yourself! |
 |
| I found that a rolling method worked nicely. |
 |
| Only one side needs to be glued to the vase. |
 |
| Finished product sprucing up the mantel. |
**
Update: I found the blog where I got the great burlap vase idea! Check it here!!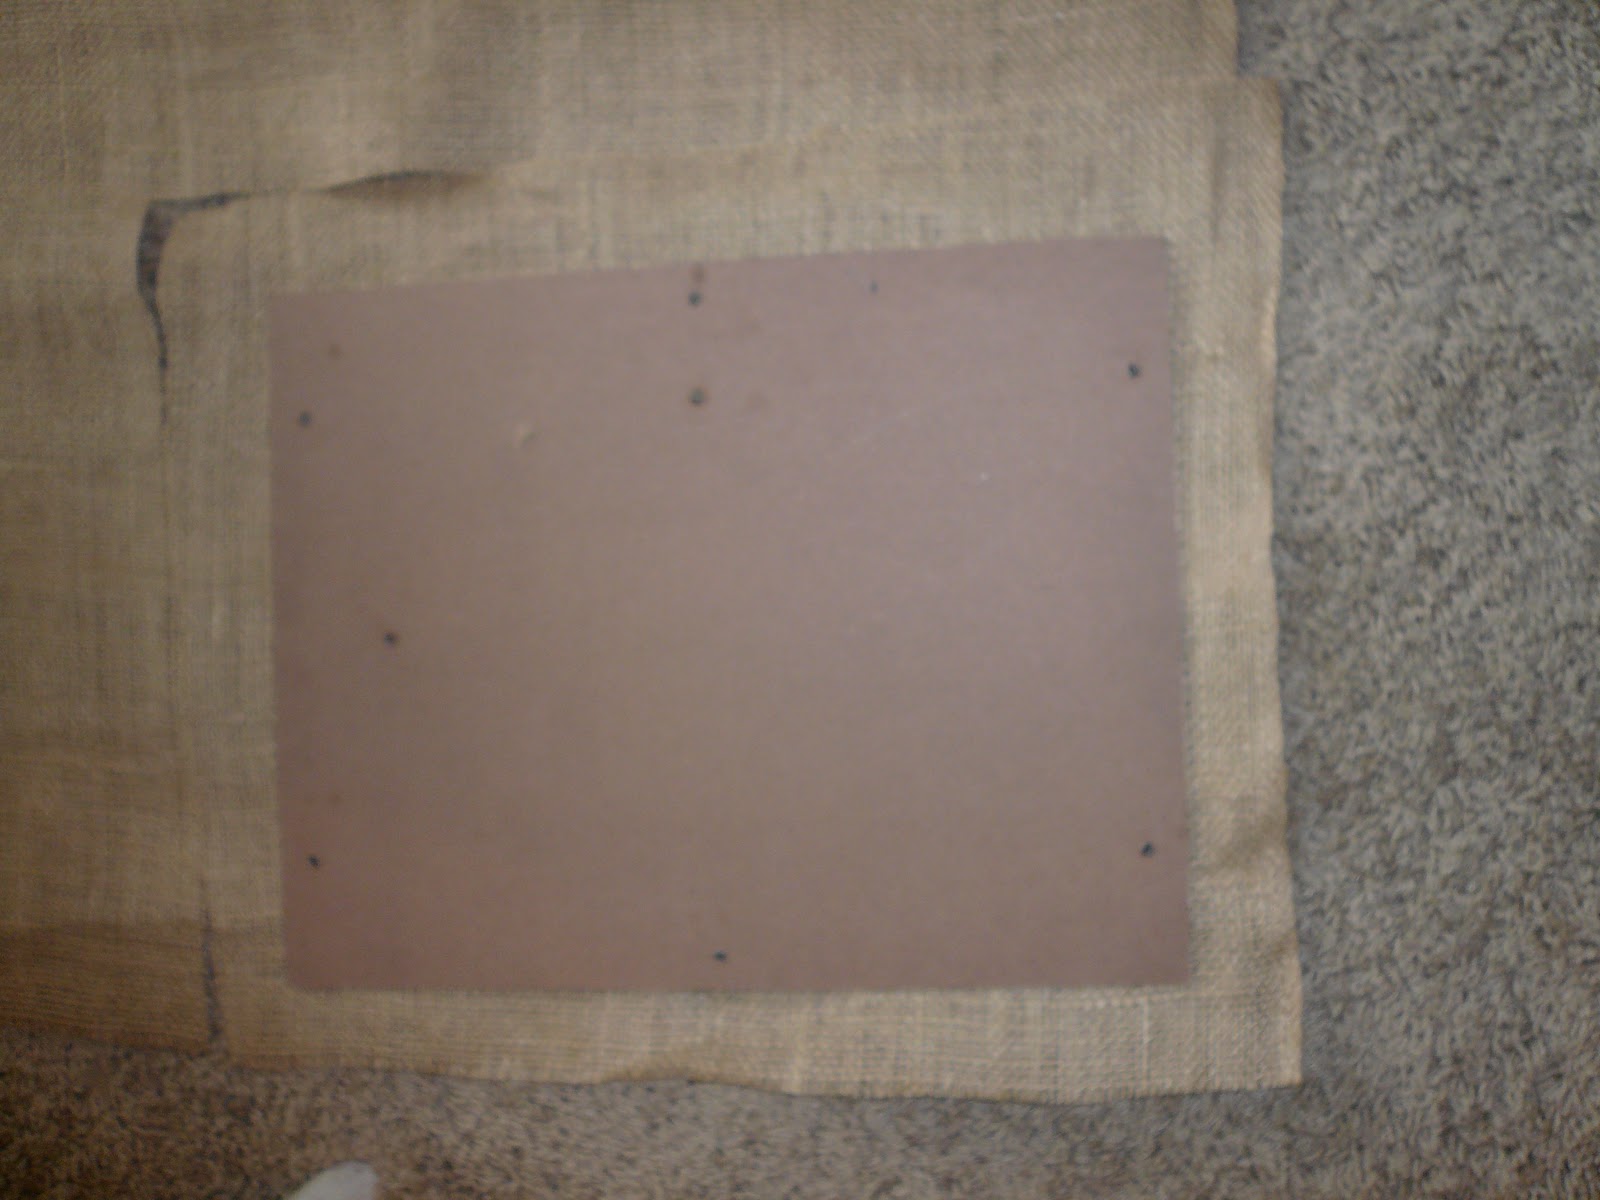


No comments:
Post a Comment